Controlling a Raspberry Pi behind a router using SSH can be challenging, especially when it doesn't work as expected. Whether you're a beginner or an advanced user, this issue can be frustrating. However, understanding the root cause and implementing the right solutions can save you from potential headaches.
Raspberry Pi has become one of the most popular platforms for home automation, IoT projects, and remote server management. However, many users encounter difficulties when trying to access their Raspberry Pi remotely via SSH while it's behind a router. This guide will help you troubleshoot and resolve these issues effectively.
In this article, we'll explore why SSH might not work when controlling a Raspberry Pi behind a router, common problems users face, and how to fix them step-by-step. By the end of this article, you'll have a clear understanding of how to ensure seamless SSH access to your Raspberry Pi.
Read also:Rarity With Straight Hair A Comprehensive Guide For Fans And Enthusiasts
Table of Contents
- Introduction
- Understanding SSH
- Common Issues with SSH Behind a Router
- Network Configuration
- Port Forwarding
- Firewall Settings
- SSH Server Configuration
- Remote Access Tools
- Troubleshooting Steps
- Advanced Techniques
- Conclusion
Introduction
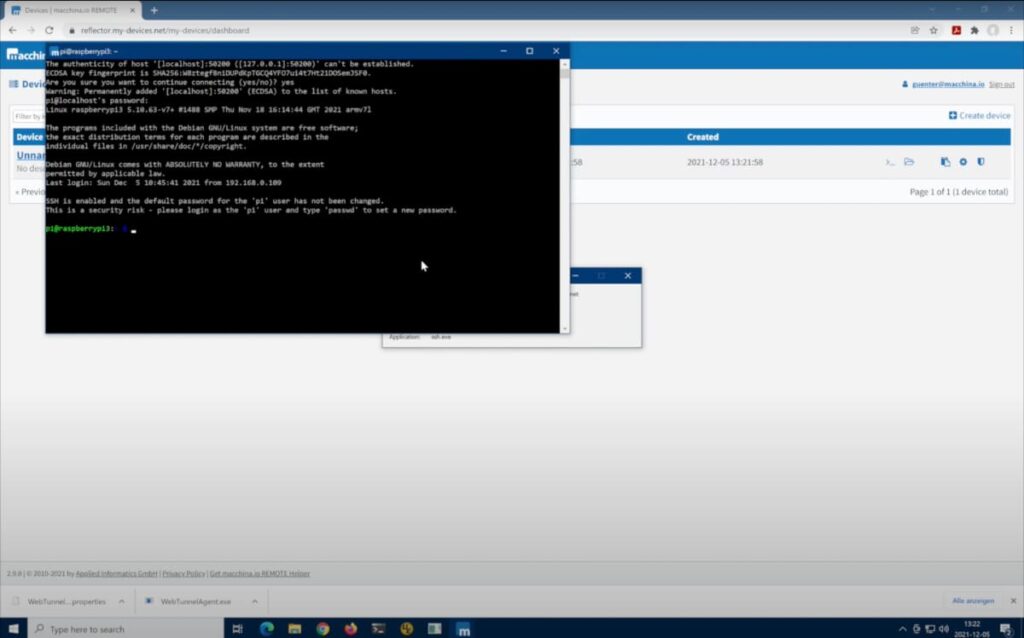
SSH (Secure Shell) is one of the most widely used protocols for securely accessing remote systems. It allows users to execute commands, transfer files, and manage devices remotely. When setting up a Raspberry Pi behind a router, ensuring that SSH works correctly is crucial for maintaining control over the device.
Unfortunately, several factors can cause SSH to fail when accessing a Raspberry Pi remotely. These include network configuration issues, firewall restrictions, and incorrect port forwarding setups. This article will address these challenges and provide practical solutions.
Understanding SSH
What is SSH?
SSH, or Secure Shell, is a cryptographic network protocol designed for secure communication between two systems. It provides a secure channel over an unsecured network, making it ideal for remote system management. The protocol supports encryption, authentication, and integrity checks, ensuring that data transmitted between the client and server remains private and tamper-proof.
Why Use SSH for Raspberry Pi?
Raspberry Pi is a versatile single-board computer that can be used for various projects, including home automation, media servers, and web hosting. SSH allows users to manage their Raspberry Pi remotely without needing physical access to the device. This is particularly useful when the Raspberry Pi is located in a different geographical location.
- Remote command execution
- File transfer via SCP (Secure Copy Protocol)
- Secure administration of the device
Common Issues with SSH Behind a Router
When a Raspberry Pi is connected to a local network behind a router, several issues can prevent SSH from functioning properly. Below are some common problems:
- Incorrect IP Address Assignment: The Raspberry Pi may not have a static IP address, causing the device's IP to change periodically.
- Port Forwarding Issues: The router may not be configured correctly to forward SSH traffic to the Raspberry Pi.
- Firewall Restrictions: Firewalls on the router or Raspberry Pi may block incoming SSH connections.
- SSH Service Not Running: The SSH service on the Raspberry Pi may not be enabled or running.
Network Configuration
Assigning a Static IP Address
One of the first steps in ensuring SSH works reliably is assigning a static IP address to your Raspberry Pi. This prevents the device from obtaining a new IP address each time it connects to the network, which can disrupt SSH connections.
Read also:The Importance Or Essence Of Life Understanding What Truly Matters
To assign a static IP address:
- Log in to your Raspberry Pi via SSH or directly.
- Edit the network configuration file using a text editor:
sudo nano /etc/dhcpcd.conf
Add the following lines to the file:
interface eth0
static ip_address=192.168.1.100/24
static routers=192.168.1.1
static domain_name_servers=192.168.1.1
Port Forwarding
Port forwarding is essential when accessing a Raspberry Pi behind a router via SSH. By forwarding the SSH port (default is 22) to the Raspberry Pi's IP address, you allow external devices to connect to the device securely.
Steps to Set Up Port Forwarding
- Log in to your router's admin interface.
- Locate the "Port Forwarding" or "Virtual Server" section.
- Create a new rule with the following details:
Service Name: SSH
External Port: 22
Internal IP Address: [Raspberry Pi's Static IP]
Internal Port: 22
Protocol: TCP
Firewall Settings
Firewalls can block incoming SSH connections if not configured correctly. Ensure that both the router's firewall and the Raspberry Pi's firewall allow traffic on port 22.
Configuring the Raspberry Pi Firewall
By default, Raspberry Pi does not have a firewall enabled. However, you can use the UFW (Uncomplicated Firewall) tool to manage firewall rules:
sudo apt update
sudo apt install ufw
sudo ufw allow 22
sudo ufw enable
SSH Server Configuration
Ensure that the SSH server is properly configured on your Raspberry Pi. You can check the status of the SSH service using the following command:
sudo systemctl status ssh
If the service is not running, you can enable and start it using:
sudo systemctl enable ssh
sudo systemctl start ssh
Remote Access Tools
While SSH is the most common method for remote access, other tools can also be used to control a Raspberry Pi behind a router:
- TeamViewer: A user-friendly remote access tool that works without complex network configurations.
- VNC (Virtual Network Computing): Allows graphical remote access to the Raspberry Pi desktop.
- ngrok: A tunneling service that provides secure access to local servers.
Troubleshooting Steps
If SSH still doesn't work after following the above steps, consider the following troubleshooting techniques:
- Verify the Raspberry Pi's IP address and ensure it matches the port forwarding rule.
- Check the router's firewall settings to ensure port 22 is open.
- Test SSH connectivity from another device on the same network.
- Use tools like "nmap" to scan for open ports on the Raspberry Pi.
Advanced Techniques
Using a Dynamic DNS Service
If your internet service provider assigns a dynamic public IP address, consider using a Dynamic DNS (DDNS) service. This allows you to access your Raspberry Pi using a fixed domain name, even if the public IP changes.
Changing the Default SSH Port
For added security, you can change the default SSH port (22) to a non-standard port. This reduces the risk of unauthorized access attempts:
sudo nano /etc/ssh/sshd_config
Change the "Port" line to your desired port number (e.g., 2222).
sudo systemctl restart ssh
Conclusion
Controlling a Raspberry Pi behind a router using SSH can be challenging, but with the right configurations and troubleshooting techniques, it becomes a straightforward process. This article has covered essential topics such as network configuration, port forwarding, firewall settings, and advanced techniques to ensure seamless SSH access.
We encourage you to try the steps outlined in this guide and share your experiences in the comments below. If you found this article helpful, don't forget to share it with others who might benefit from it. For more in-depth guides on Raspberry Pi and networking, explore our other articles on the site.
Sources: